
These reproduction cabinets are made from 9 ply, cabinet grade 3/4” plywood. The measurements for each cab is 42” X 29” X 13”. The measurements were taken from an original 4120 cabinet that resides in the UK (Thanks Mike Handley!!). The back panels are made from 3/8” thick Baltic Birch, as this is a much better grade of wood that you’d find at a building materials store and it is a true 3/8” thick. The building supply 3/8” plywood isn’t a true 3/8” thickness and is way too flimsy for back panel usage.
MEASUREMENTS:
Cabinet Material: ¾” Cabinet grade plywood, 7 to 9 ply.
Rear panel material: 3/8” Baltic Birch.
Gold Cabinet Piping: 2 1/8” inside from each edge.
Piping Channel depth: 3/32”.
Piping Channel width: 1/8”.
Hand Wheel trolley mounting holes: 12 ¼” down from top of side.
Rear input jack (4120 cab): 6 ¾” down from top center.
Rear input jack (7120): center of top rear panel.
Front Baffle mounting strips depth, in from front edge: 1 ¼”.
Rear Panel mounting strips depth, in from edge: 3/8 to 7/16”.
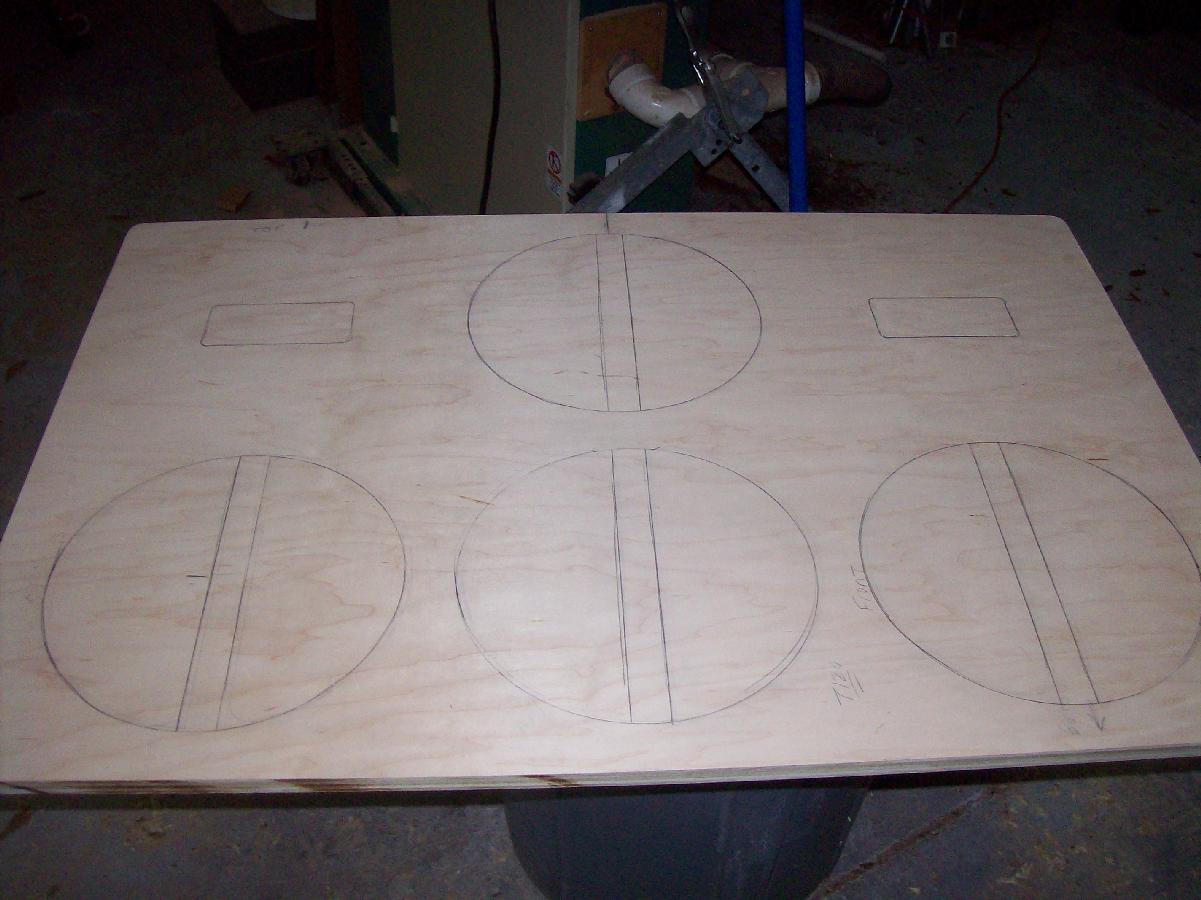
Midax Horn baffle location: Down from top – 6” / In from the side – 4 ½”.
Midax Horn cutouts: 2 ½” X 5 5/8”.
12” Speaker baffle holes: 11” circle.
You will need approx 4 yards of Tolex; cabinet is approx 12’ around (tolex is usually cut from 54” high rolls).
You will need 17 yards of .080” Gold Piping = approx 51’.
8 yards of White baffle piping.
3 yards of VOX grillcloth.
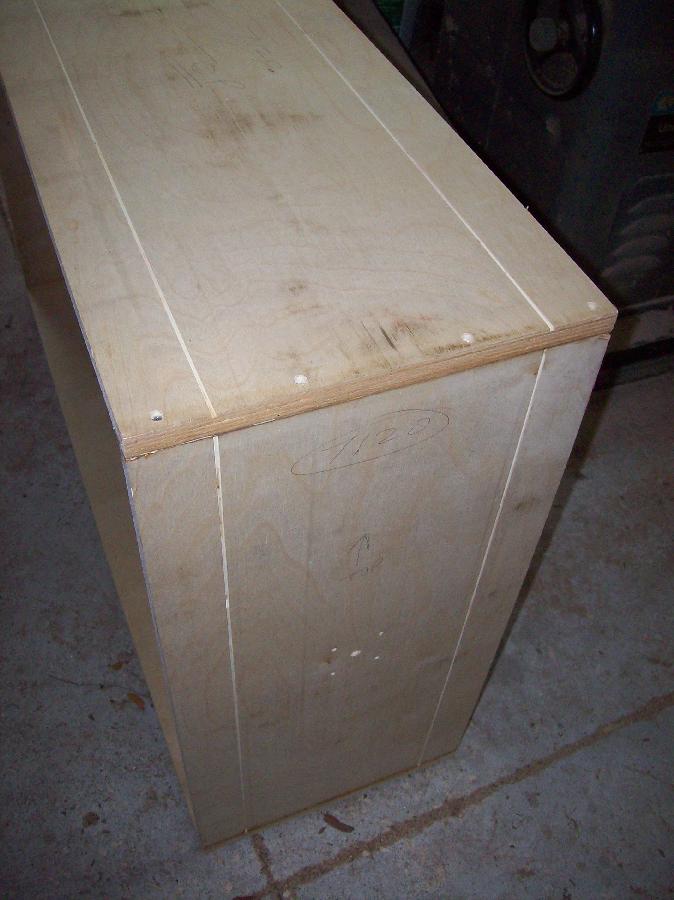
Cabinets are 42” X 29” X 13” .
4120 Rear Panel: approx 40 5/16” X 27 5/16”.
16 Speaker mounting baffle machine screws & nuts: 1 1/4” to 1 ½” long.
20 2 /1/4” X 10/32 Midax Horn mounting machine screws & nuts.
CLICK ON THE THUMBS FOR LARGER IMAGES


I went ahead and drilled the side panels for the trolley mounts just in case an original or a re-issue 7120 trolley should ever become available. Not likely, but the holes are there under the tolex just in case.
The other tolexed cabinet in this 1st set of pics is a ‘Supreme’ donor cabinet that I had in my collection. I used this for the inside cabinet measurements and for the original baffle hardware which I used on the 7120 build. The 4120 build used all new mounting hardware.
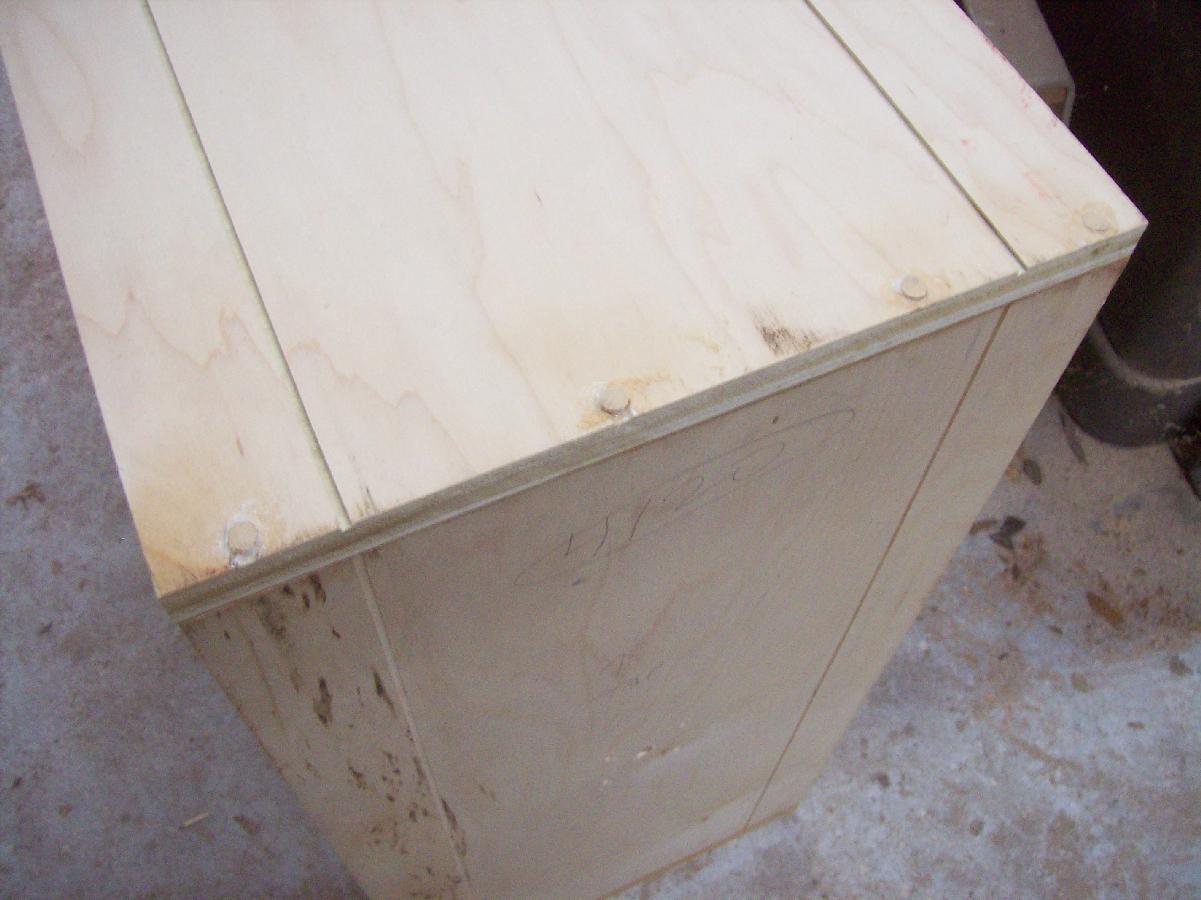


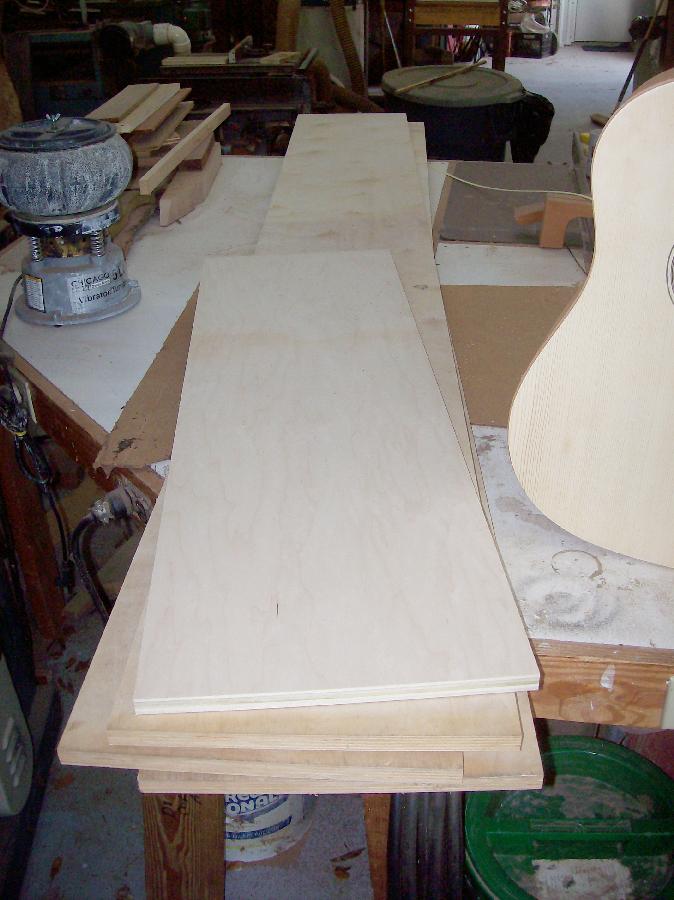
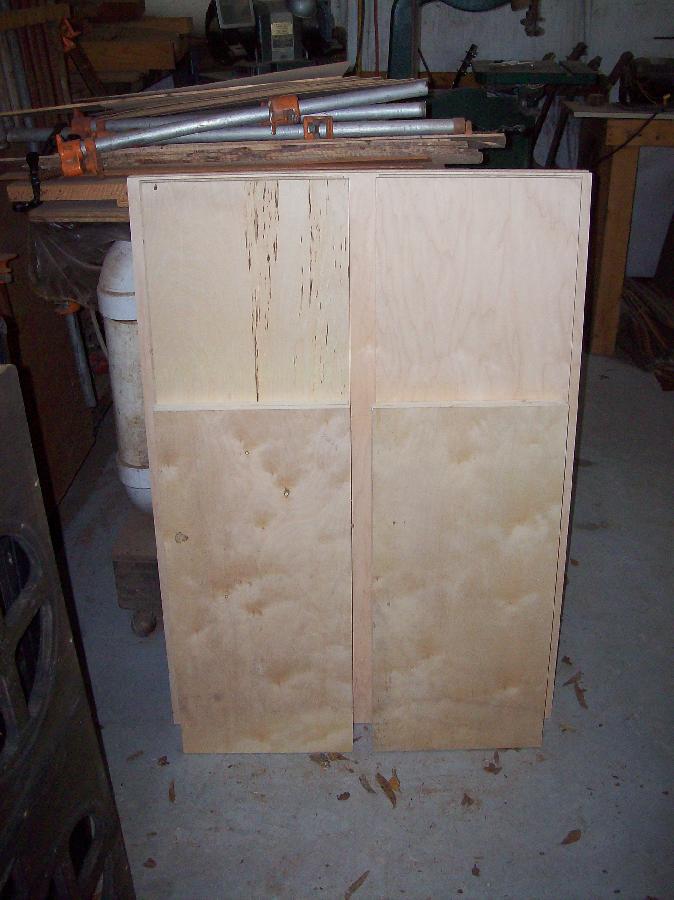
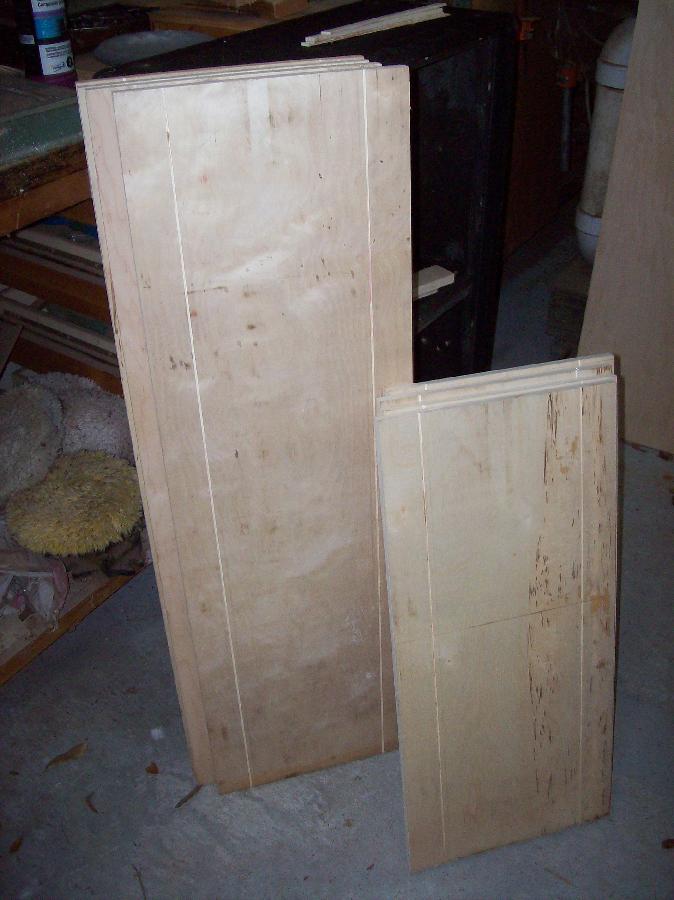
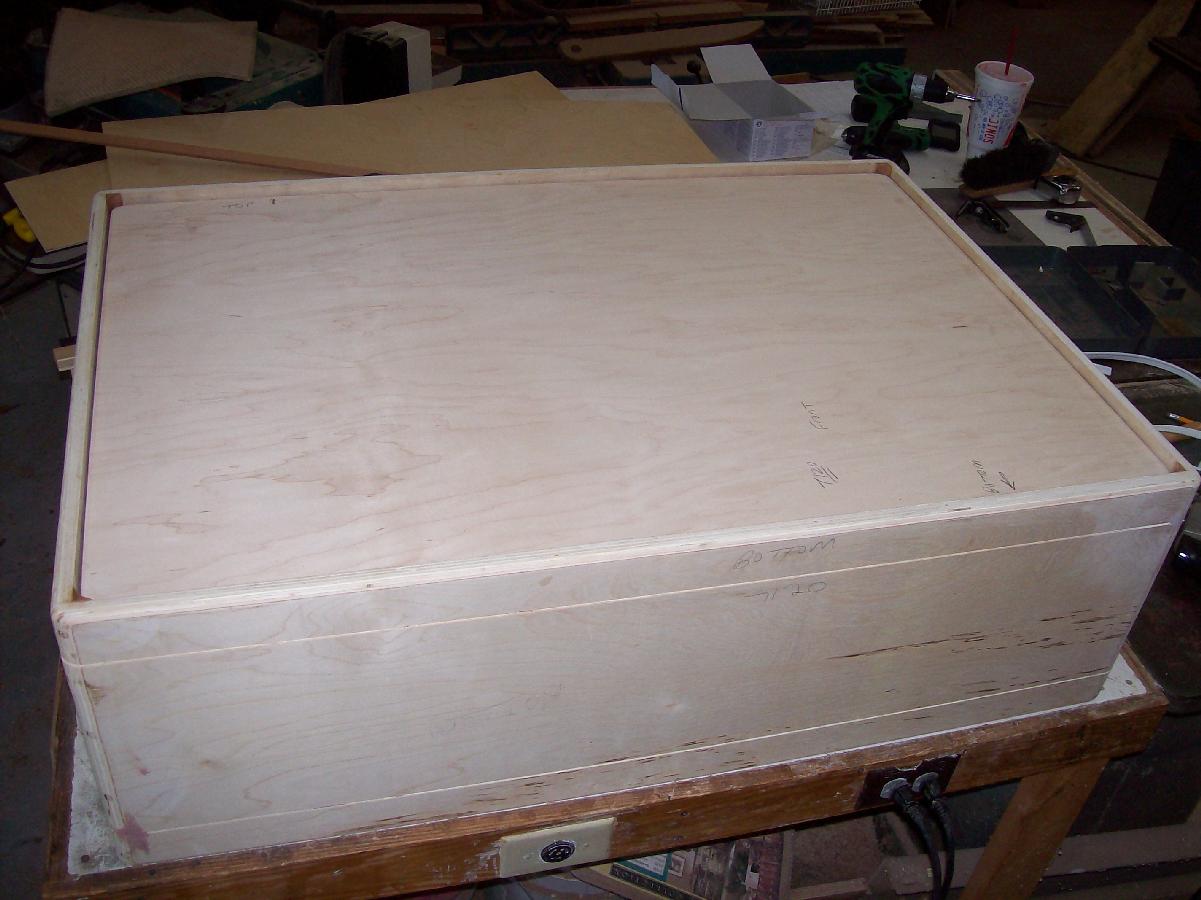
The cabs were fitted together in jigs and pre-drilled for screws. They were glued together with Tite Bond wood glue and screwed together, with the screws being counter sunk approx ¼” down from the top. Then after the glue dries (needs to set for 24 hours), the counter sunk holes were doweled and smoothed. Then the cabinet edges were routed. After that, the edges were sanded smooth; it’s not necessary to go crazy with the sanding, but you will need to make sure the routed edges are smooth and level. This is when the cabinets really start to take shape and have that ‘VOX’ look! Also, before the cut panels were glued together, they were run thru the table saw adjusted to the proper depth to create the gold piping channel. This channel is about 1/8” wide and about 3/32” deep. The channel is approx 2 ¼” in from the edges.


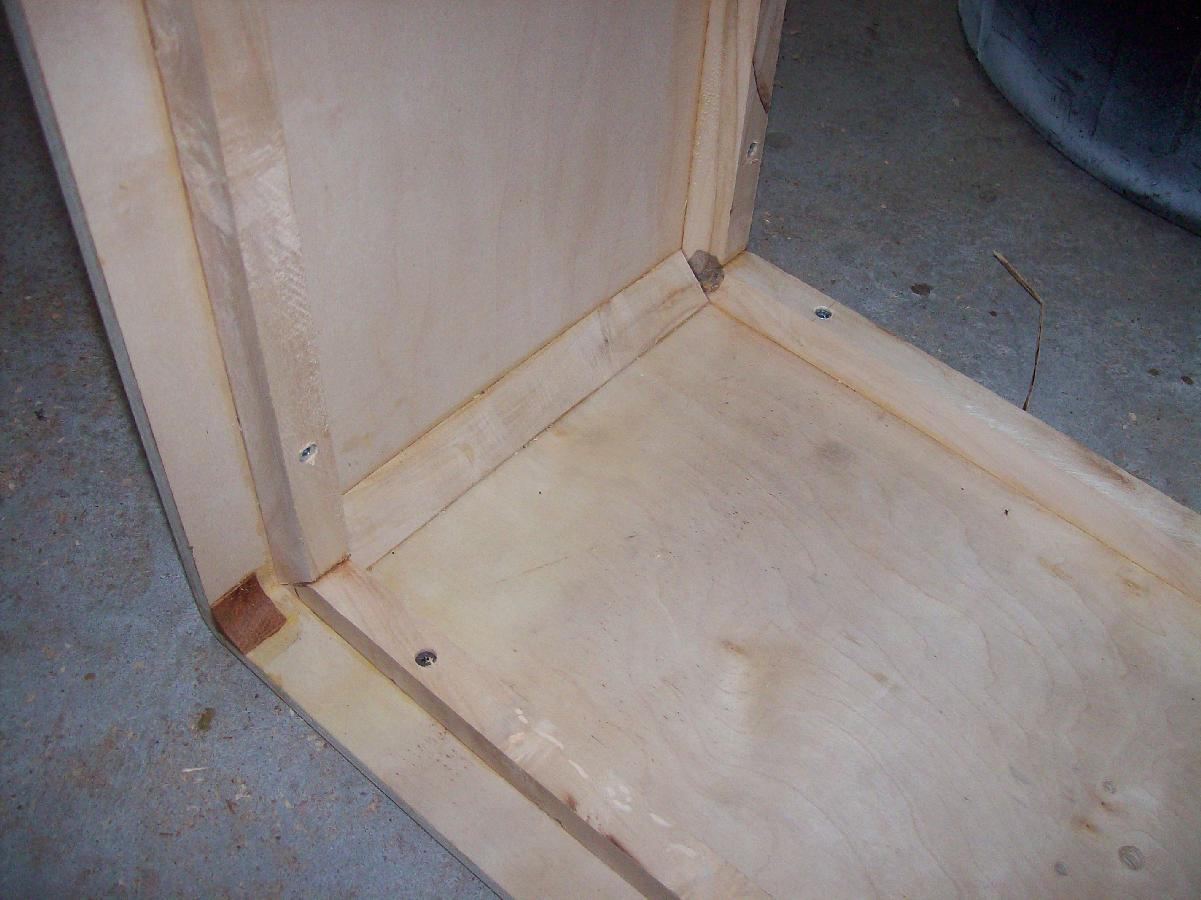


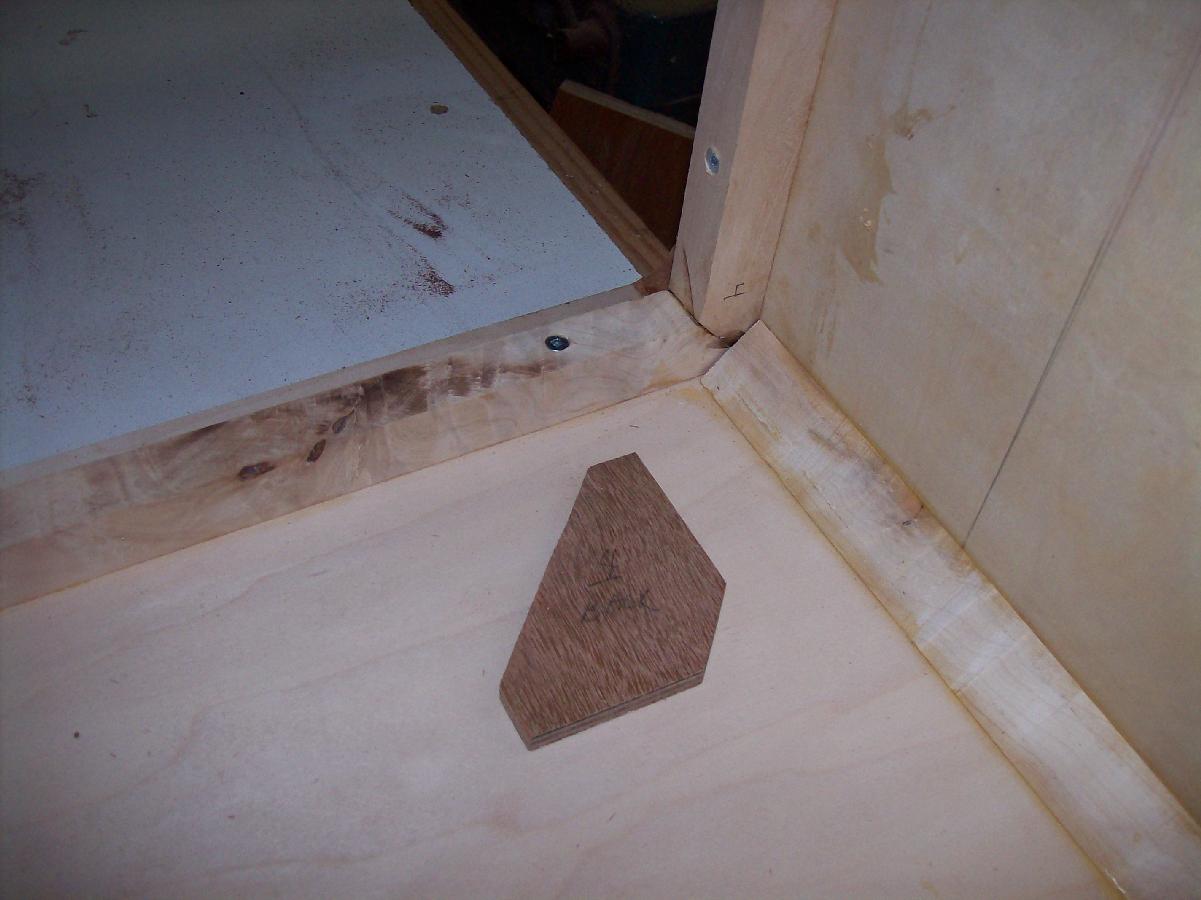
All of the internal cabinet bracing was taken from my Supreme ‘donor’ cab. The strips that the baffle and the rear panels mount to were made from 1” square hard maple. The front ‘rounded’ corners were cut from a square of mahogany from a 1 ¼” hole saw.
The front cabinet rounded corner inserts are easy to make. I used Mahogany, but any solid hardwood will work fine. The corners are based on a 1 ¼” circle. You will need to use a 1 ¼” holesaw. The pictures are pretty much self explanatory. You can glue & clamp these into each corner using a ¾” PVC pipe coupling, which has a 1 ¼” outside diameter.


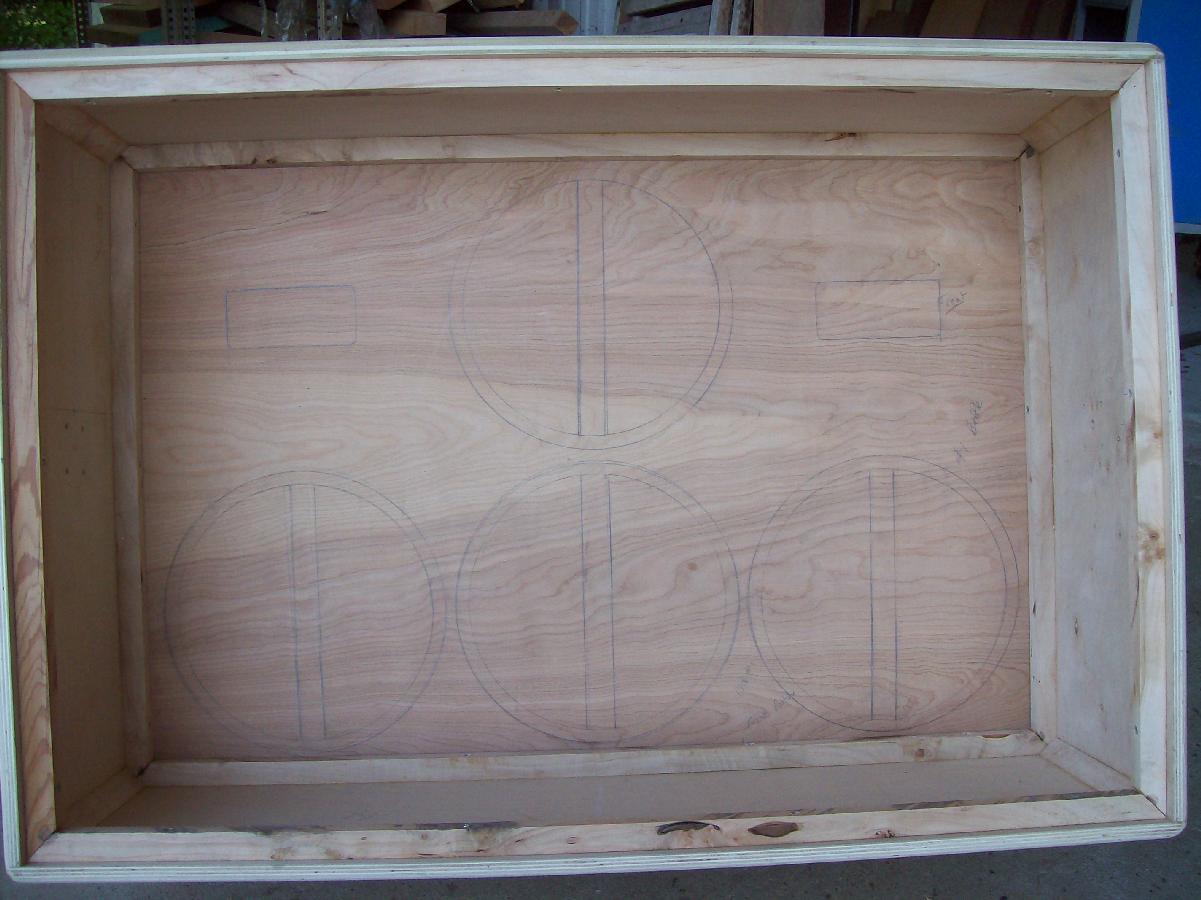
The baffle is also made from 3/4″” cabinet grade plywood. The corners of the baffle were rounded to fit the contours of the cabinet front. There needs to be a 3/16” gap all the way around to allow for proper fitting of the grill cloth and the white piping.
I used 1” square maple strips for front/ rear/top/bottom inside baffle and rear panel mounting. VOX cabinet makers usually used ¾” plywood for this, but I used 1” ‘hardwood’ for the added stability. You just need to be aware of your clearances when you’re measuring out your 4 – 11” diameter speaker mounting holes. You need to make sure and have at least 1 ¼” space at the top and bottom of the baffle to insure the speakers will clear these 1” square mounting strips. I used maple rather than ¾” plywood because it’s solid wood and won’t tend to split when you install the threaded rear panel machine screw inserts. The front baffle mounting studs go all the way thru the mounting strips and are bolted in from inside the cabinet. Threaded inserts aren’t needed for the front, just the rear. I used Titebond to glue these strips to the cabinets and used wood screws to hold them in place; you can leave these in place or remove them after the glue dries.
Most all of your needed cabinet hardware / tolex / grillcloth is available online thru ‘North Coast Music’

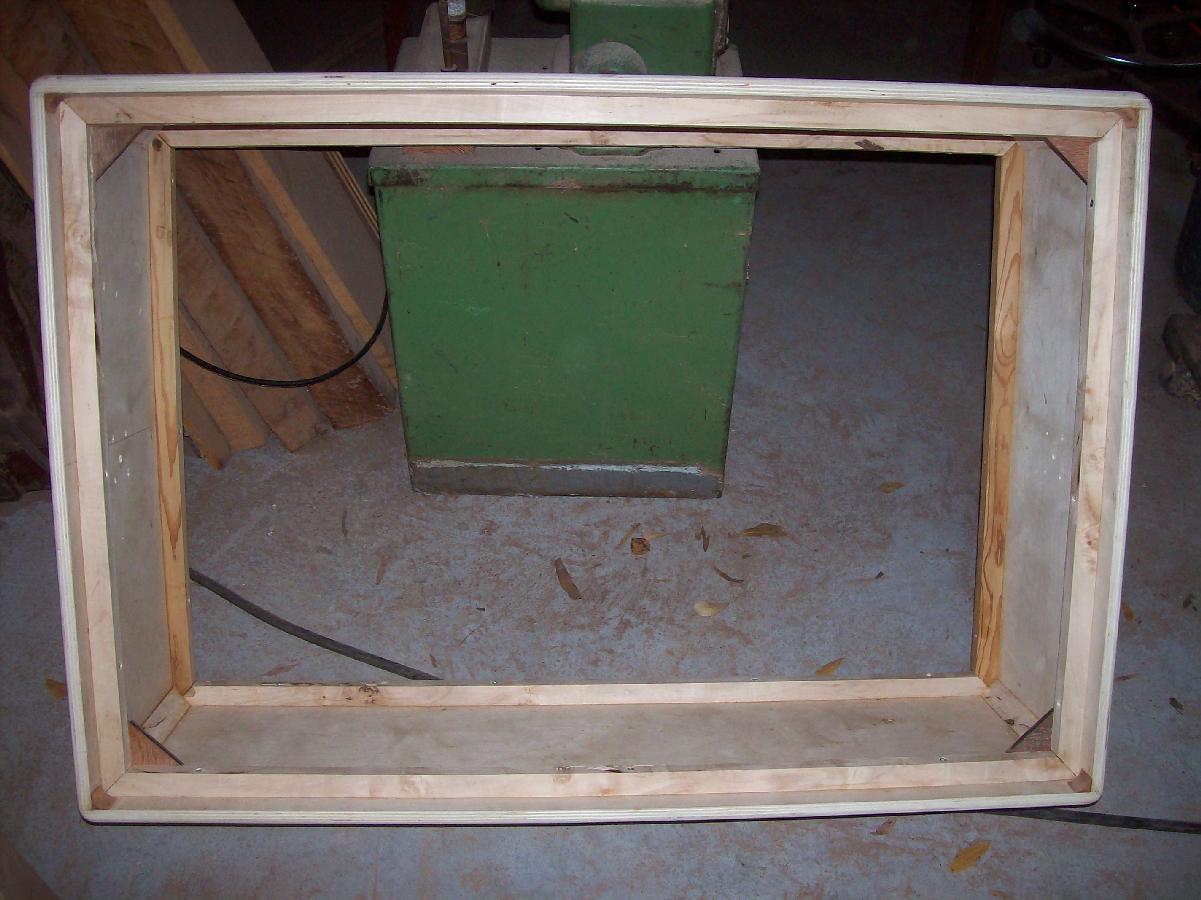
Adding the corner bracing.