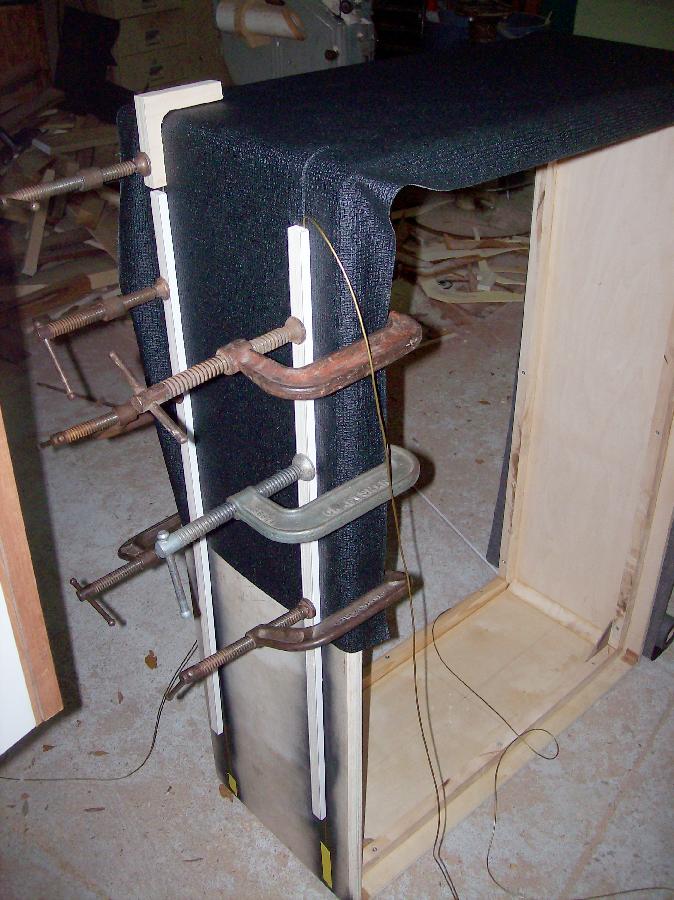
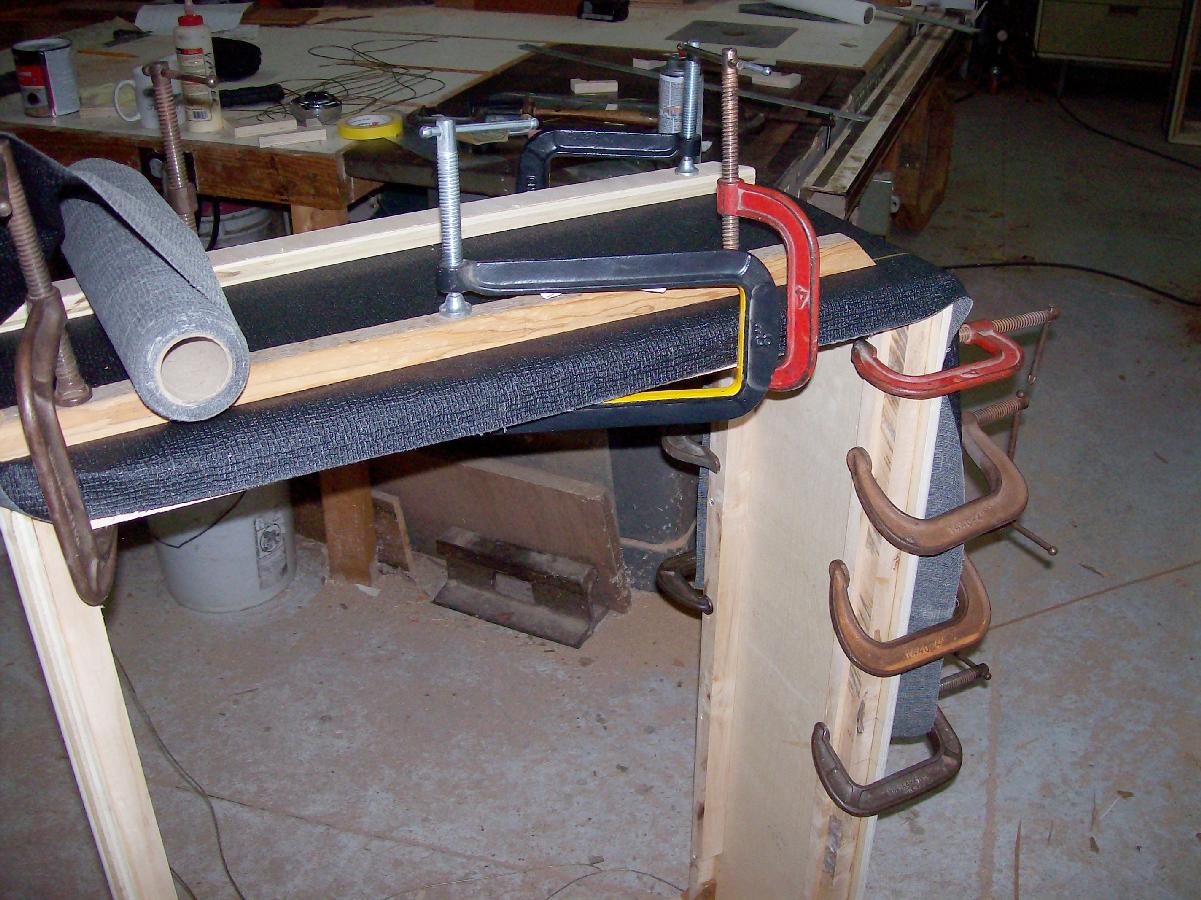

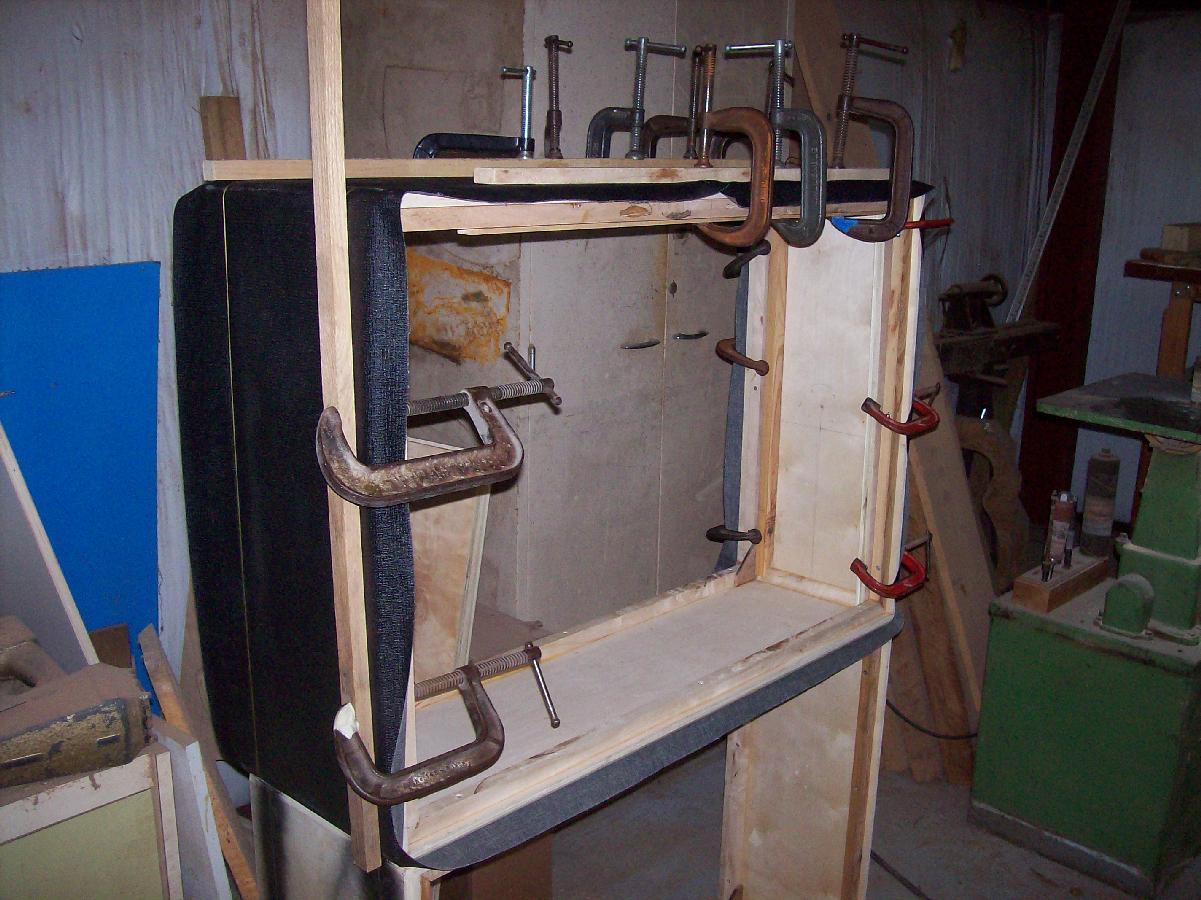

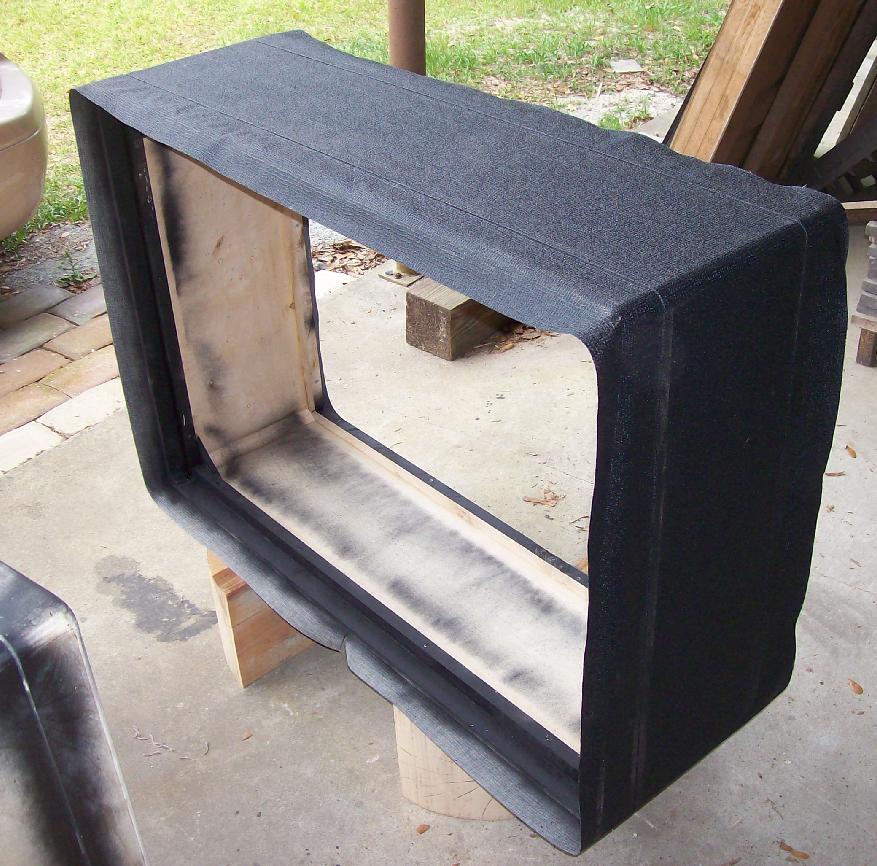
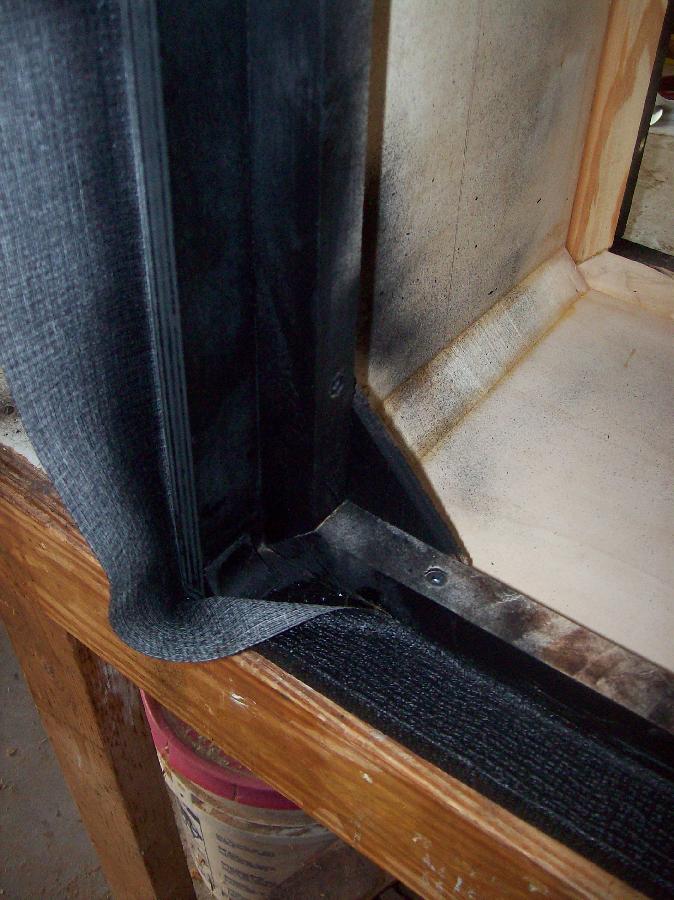

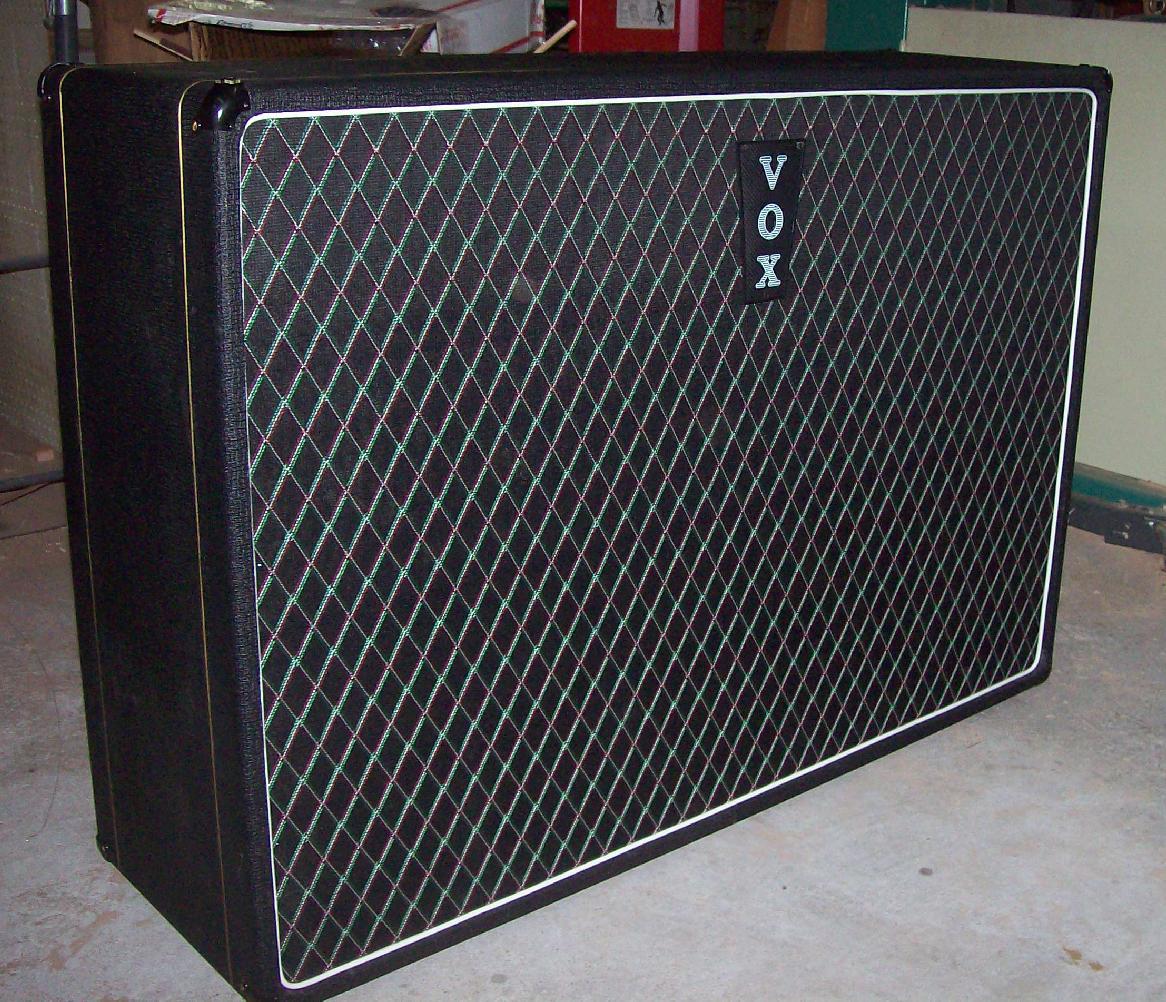
I applied the tolex all the way around the cabinet and allowed for the seam to be at the bottom center. I started at the bottom and made my way around the entire cabinet, gluing the center section down with titebond and smoothing it out with a ‘J’ roller. Allow for several inches on each side to allow for tucking and trimming when doing the final gluing / fitting. Rather than splitting the tolex down the center of the gold piping channel, I elected to use hard maple strips to press the tolex and the gold piping into the piping channels. The ‘splitting’ technique works well, but I found that using this alternate method worked just fine. Then I used contact cement to glue down the outside sections of tolex to the cab. Before I started gluing the tolex, I used black spray paint to spray the piping channel(s) just in case I decided to split the tolex. Not really needed, but I did it anyway. To get a perfect fit when the pieces meet on the bottom, overlap the pieces and using a razor blade and a straight edge, make a cut thru both pieces. After you make this cut, both pieces will fit together perfectly. You can staple together the edges until the glue dries to insure the edges stay together and don’t shrink back from each other. Then remove the staples. You should have a perfect seam and the staple holes won’t be visible.

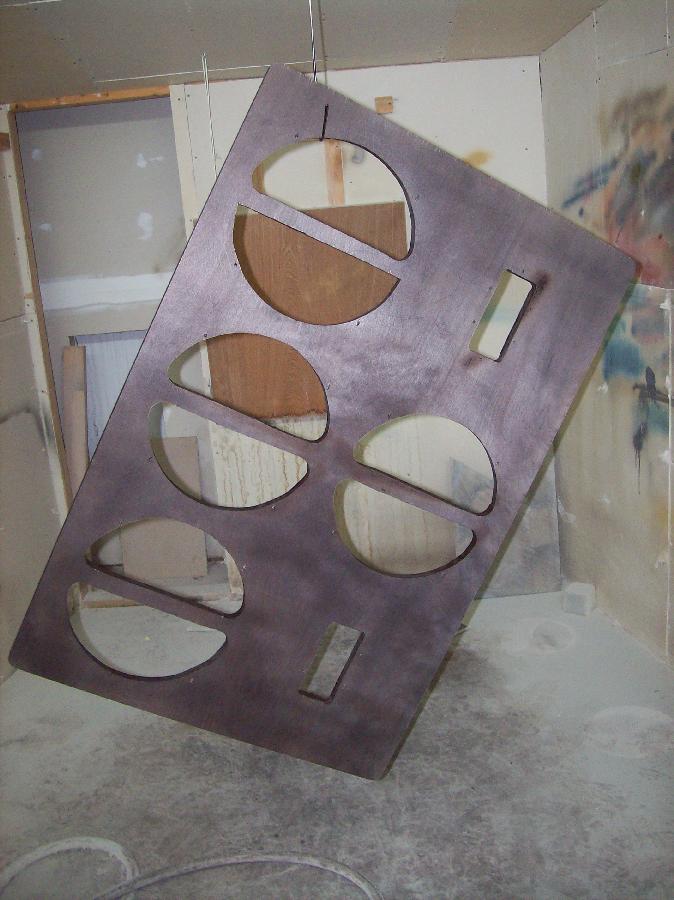


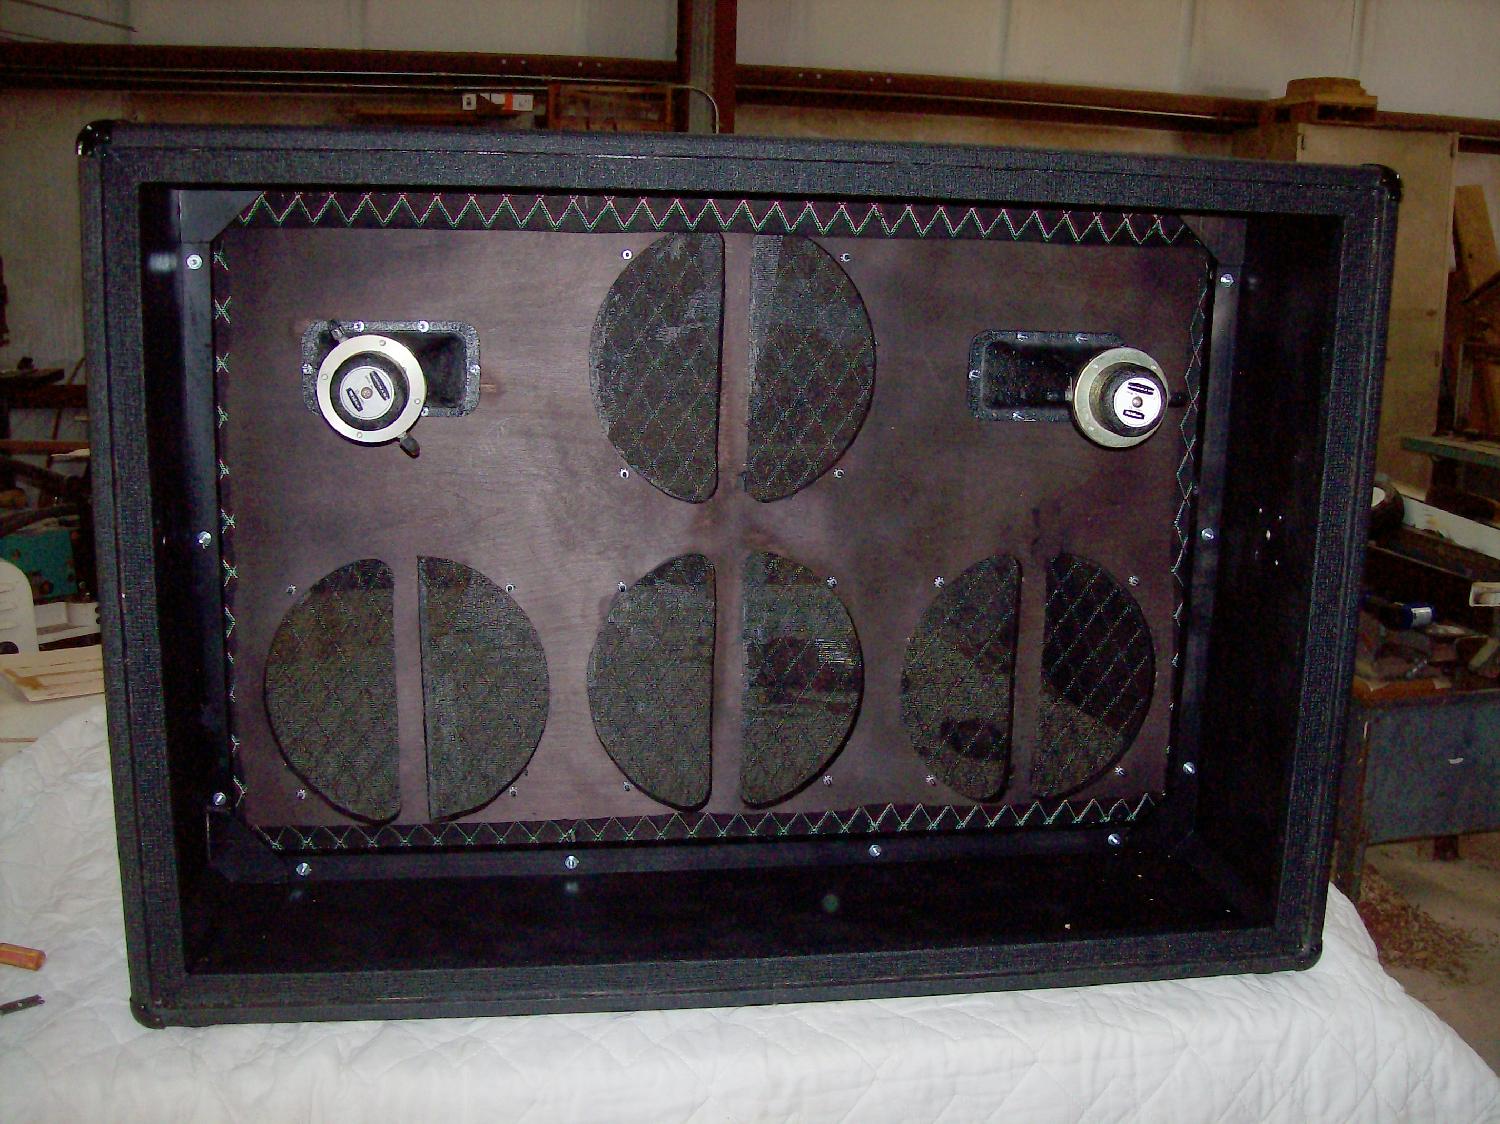
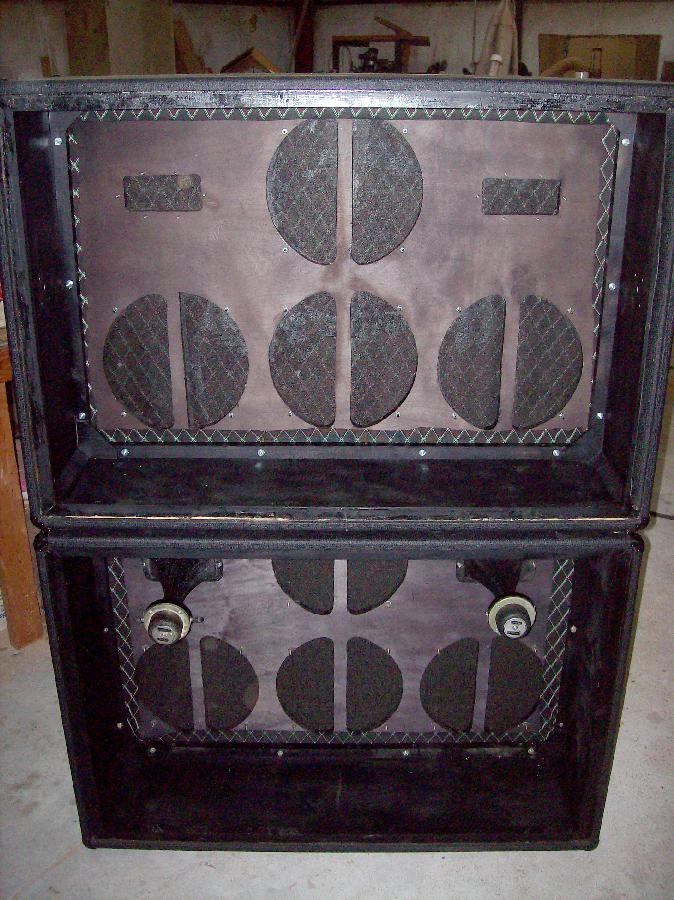
Rather than use paint on the baffles, I decided to use jet black stain mixed with standard rubbing alcohol applied with a paint sprayer. Using this allows the ‘inside’ cabinet view of the baffle to have that ‘aged’ look where you can still see the woodgrain, much like the inside of most vintage JMI baffles. I painted the outside portion of the baffle semi-flat black.
There is a pic of the 7120 / 4120 baffle next to my ‘donor’ Supreme baffle; I did this to show that the cabinets and baffles of these cabinets are slighty larger than AC-100 Deluxe and Supreme baffles.
You will want to do a trial fitting of the baffle to the cabinet in order to drill the baffle mounting holes. Usually it’s 4 or 5 at the top/bottom and 3 at each side. Run your white piping around the outside of the baffle using a few temporary staples to hold it in place. Do your measurements for your mounting holes, as you want these to be pretty even all the way around. When it’s fitted properly, drill your initial mounting holes where you’ve measured the proper spots. This way, when you install the assembled baffle, all of your holes will line up. You will also want to enlarge the mounting holes on the mounting strips on the inside of the cabinet, probably up to ¼” or even a tad larger if need be. This will give you some ‘wiggle’ room when fitting the baffle; these larger holes won’t be seen from the inside of the cabinet, as you’ll use small ‘fender’ washers when you bolt everything down.
I used VOX ‘scrim’ material glued over the front of the baffle with water thinned titebond. This dries clear and works great. You cut this scrim right to the edge and doesn’t need to be folded over to the rear. Make sure it’s tight over the front and secure with staples as needed. Remove these after the glue dries, usually overnight is best.
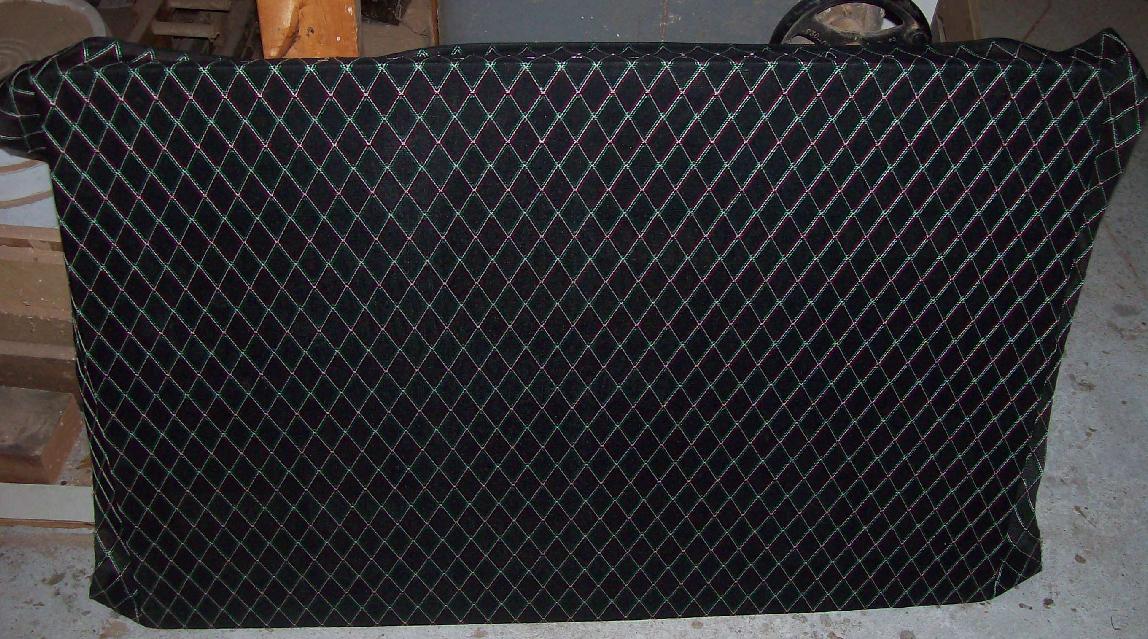
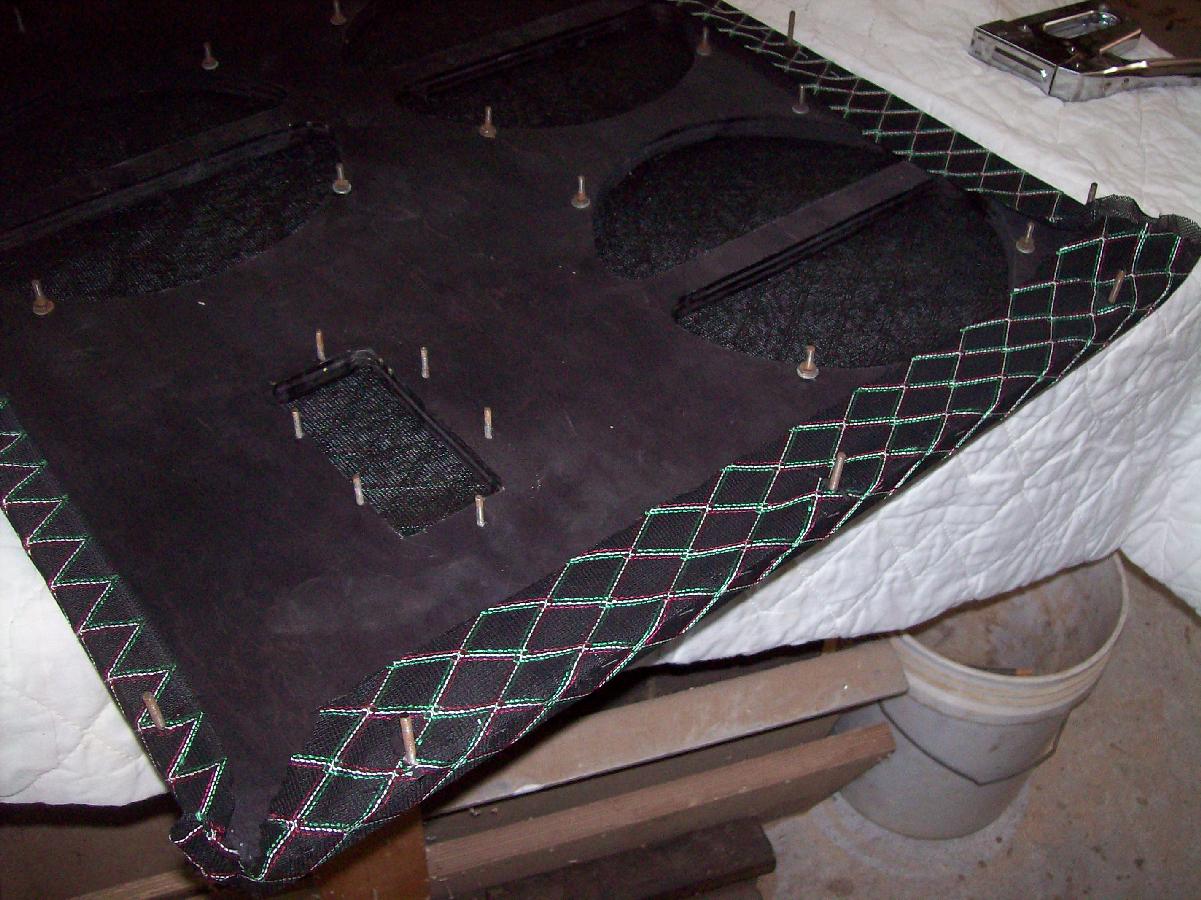
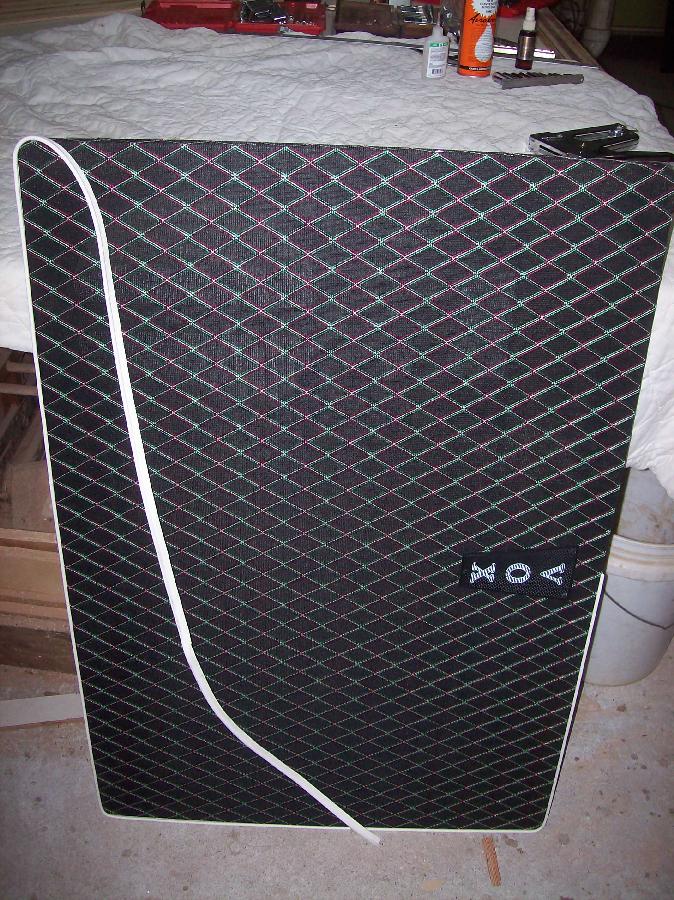
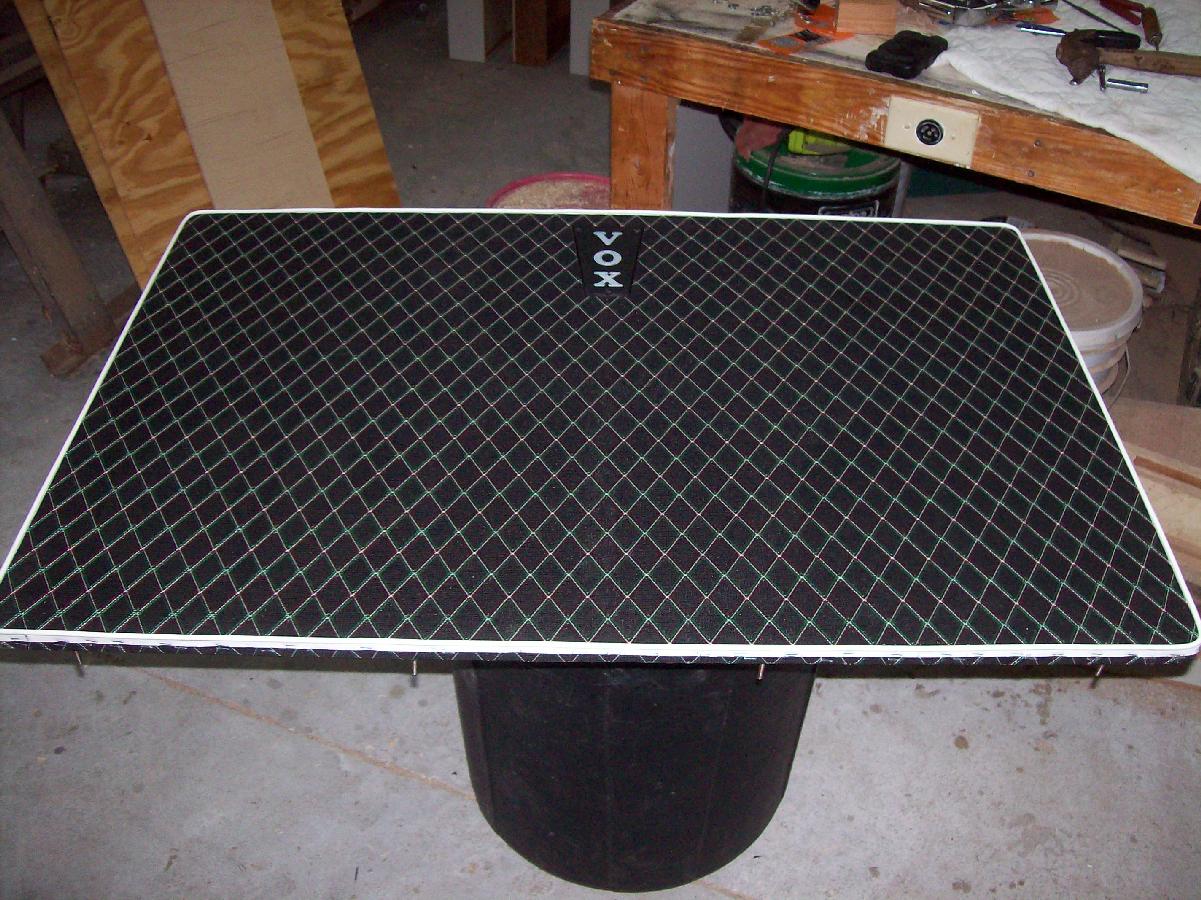
After the scrim is on, then move on to fitting the grillcloth. I used 1960’s vintage USA ‘Thomas Organ’ vintage NOS grillcloth, as I had a small supply of this that I had saved that had been cut from a roll that I owned & sold many years ago. I had just enough to do both baffles. You will have to lay it out and staple it down to the REAR edges of the baffle with the cloth folded over & around the sides. Make sure that it looks even at the top, sides and bottom and make sure it’s tight, but don’t over stretch it or the diamonds will look distorted and that’s NOT what you want! Once it has been stapled to the top / side & bottom rear edges, fold it around to the back and staple it down here as well. Then, using a small hammer, make sure ALL of the staples are hammered in, level with the surface. You don’t want them sticking up.
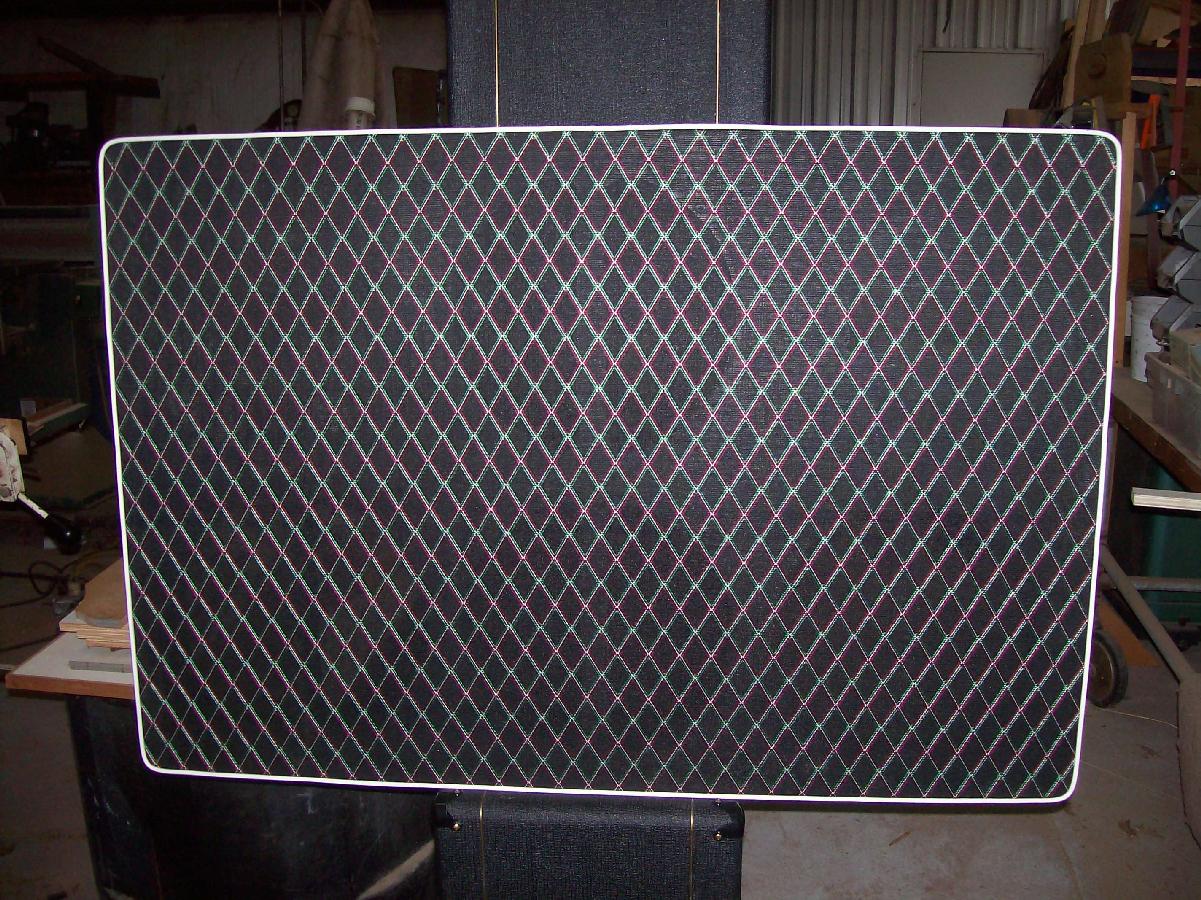
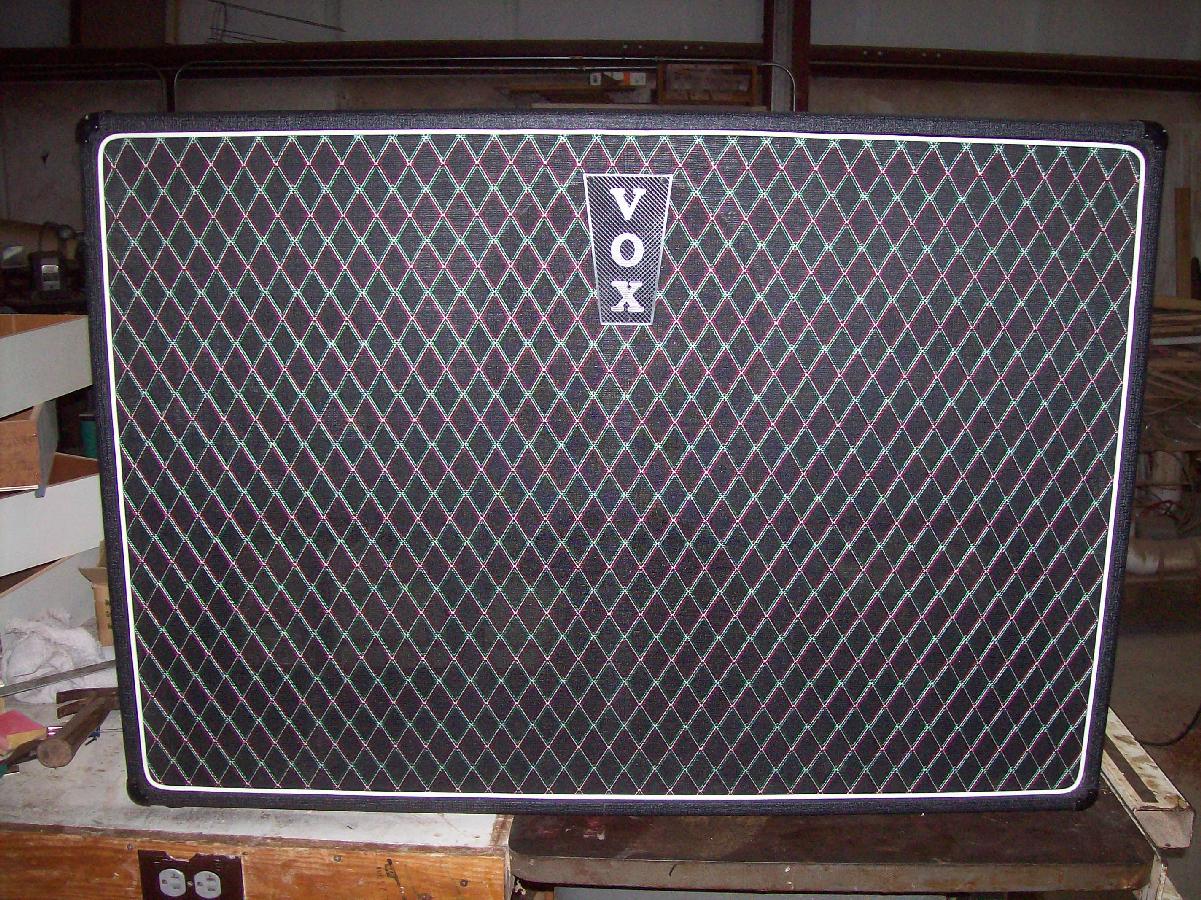
The white piping is installed by starting at the center TOP of the baffle, and working your way around using staples to affix the piping to the middle od the top, sides & bottom of the baffle. You can stretch it slightly while stapling, but don’t over do this. When you have gone all the way around and both pieces have met at the top, overlap the 2 pieces and, using a new razor, cut right thru both pieces. Then, use a small sliver of wood stuck into the middle of each side of piping; make sure they’re butted right up to each other and do your final stapling, again, going all around the baffle making sure all of the staples are hammered in level with each other.

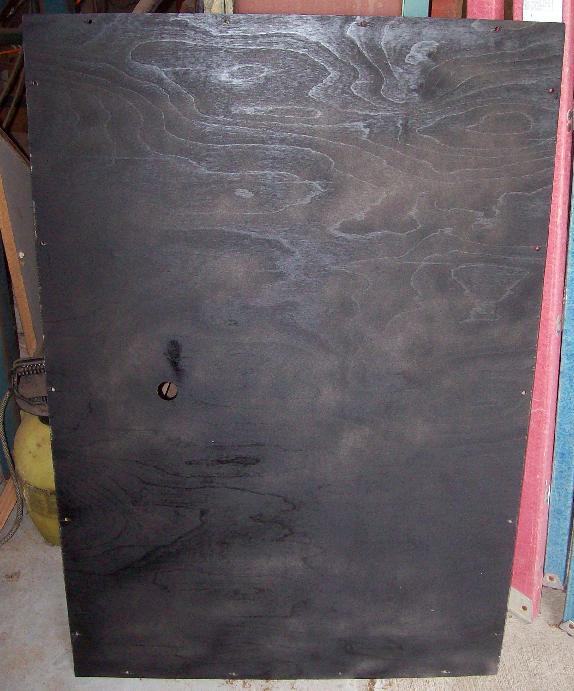

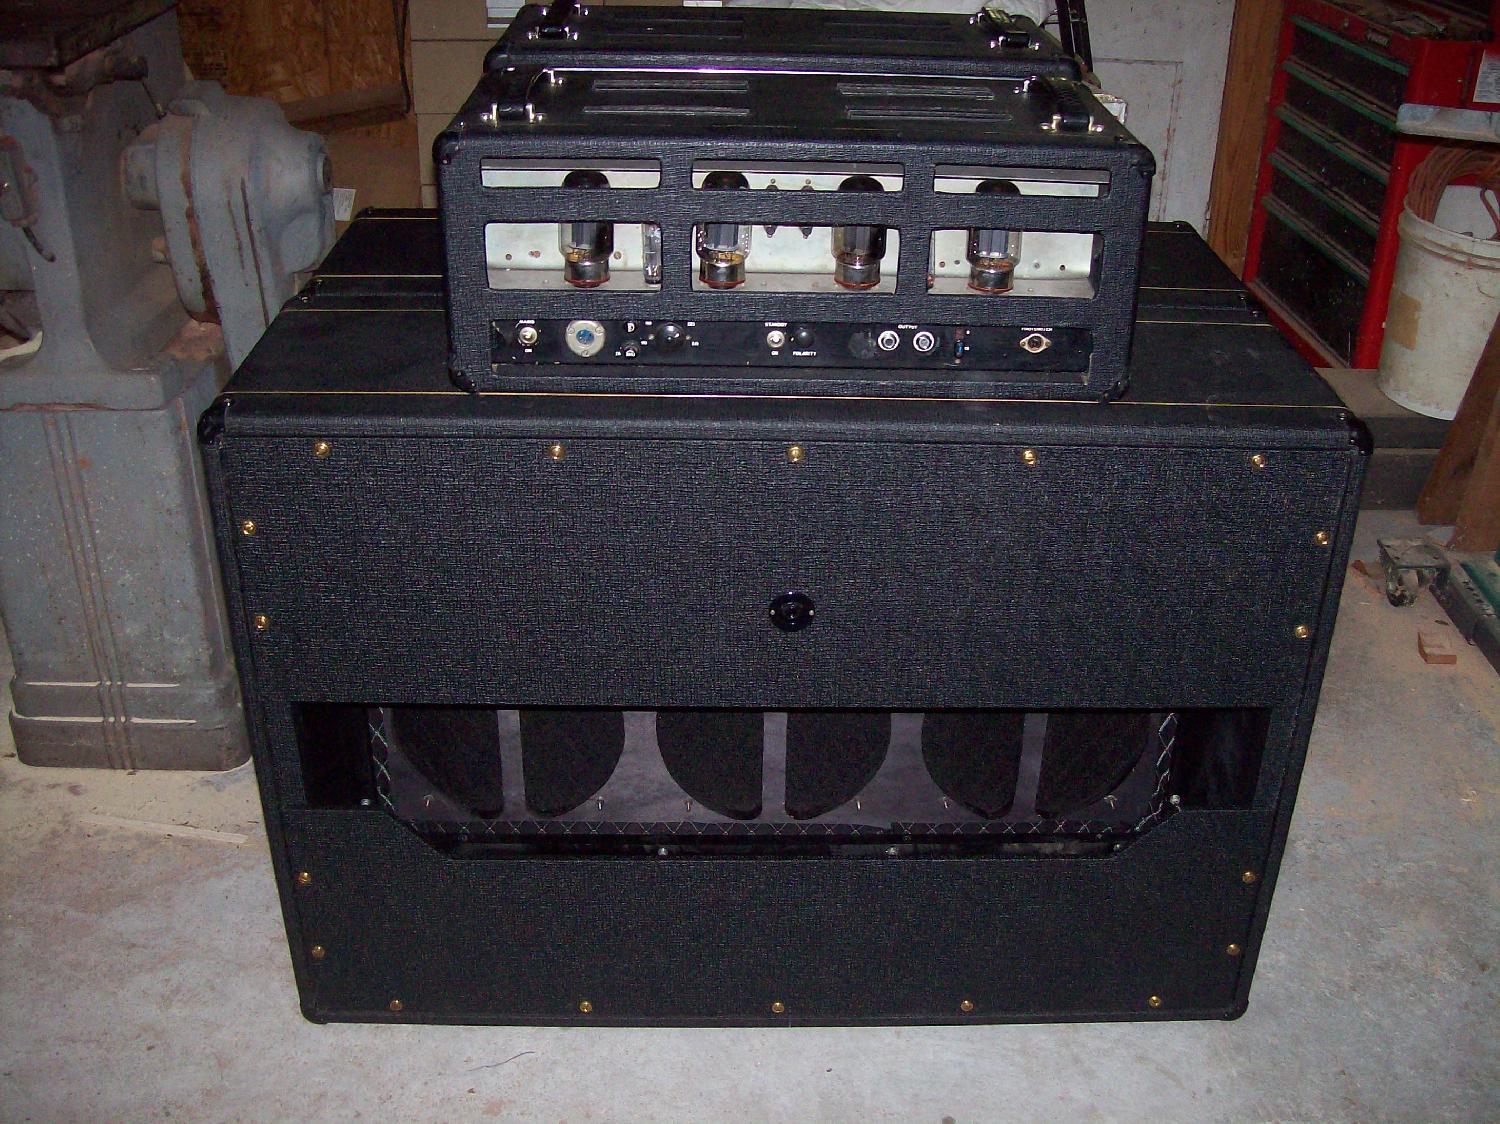
You want to make sure that all of the mounting holes for the back panel sections are nice & even. Do your homework & measure & be sure, as these rear mounting screws / washers will be seen and it will make a great cabinet job look like crap if the holes aren’t all even. Again, you want to make your panels fit properly, so you’ll want to do a trial fitting. Again, once you’ve done your measuring and marked where all of the mounting holes will be, drill your holes thru the panel(s) and down into and thru the inside mounting strips. After you’ve done this, you’ll want to use machine threaded wood inserts so you’ll be able to use machine screws to mount the back panels.
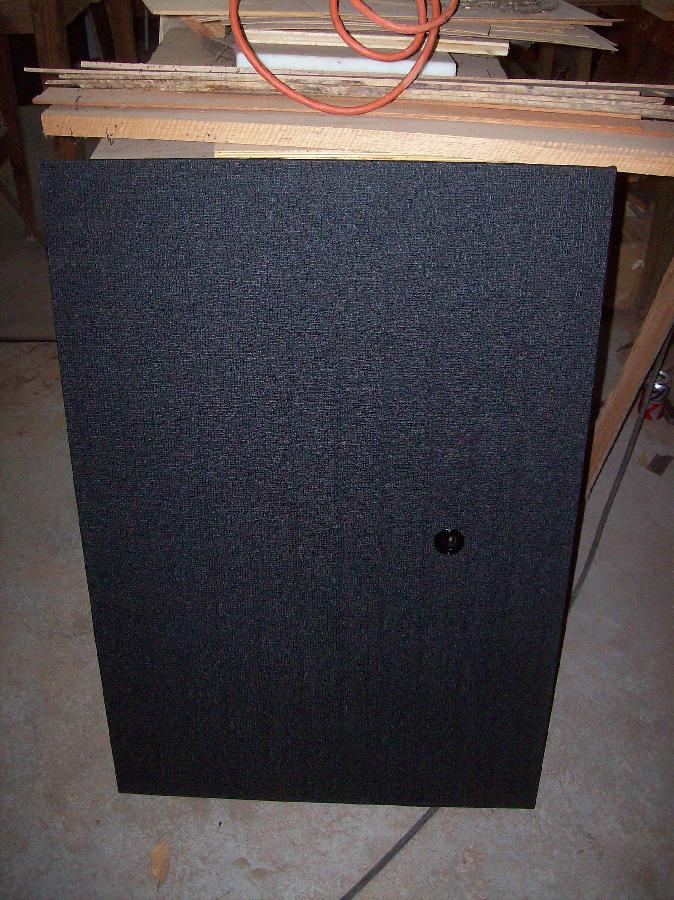
Once this has been done, then you can apply the tolex. I painted the panels on both sides flat black, so that later on down the road, if the tolex is nicked or torn, underneath will still be black and the bare wood won’t stick out like a sore thumb! I cut the pieces of tolex larger enough to cover the panel and allow fold over to the rear. I used contact cement, but you can also use animal hide glue or titebond. Make sure that there aren’t any air bubbles in the tolex; you can use a ‘J’ roller to insure the tolex is nice and flat. .